1. Sign in
- Visit vibes.heroku.com.
- Click Sign In and authenticate with your Heroku or Google account.
- Accept the pilot terms. You now have a personal workspace and three project slots.
2. Describe your app
Use natural language to capture the product you want. Be specific about:- Framework or runtime (for example, “Node.js with Express” or “Ruby on Rails”).
- Data requirements (Postgres, Key-Value Store, third-party APIs).
- UI expectations (landing page, dashboard, authentication, etc.).
“Build a Node.js Express app called LaunchPad with a tailwind-styled landing page, a simple signup form, and a Postgres database for storing subscribers.”Vibes creates a to-do list and begins implementing each task. The right-hand preview updates as the agent completes steps.
3. Iterate in conversation
Use follow-up prompts to refine the app:- “Add a pricing section with two tiers.”
- “Connect the signup form to the Postgres table.”
- “Swap the color palette to purple and white.”
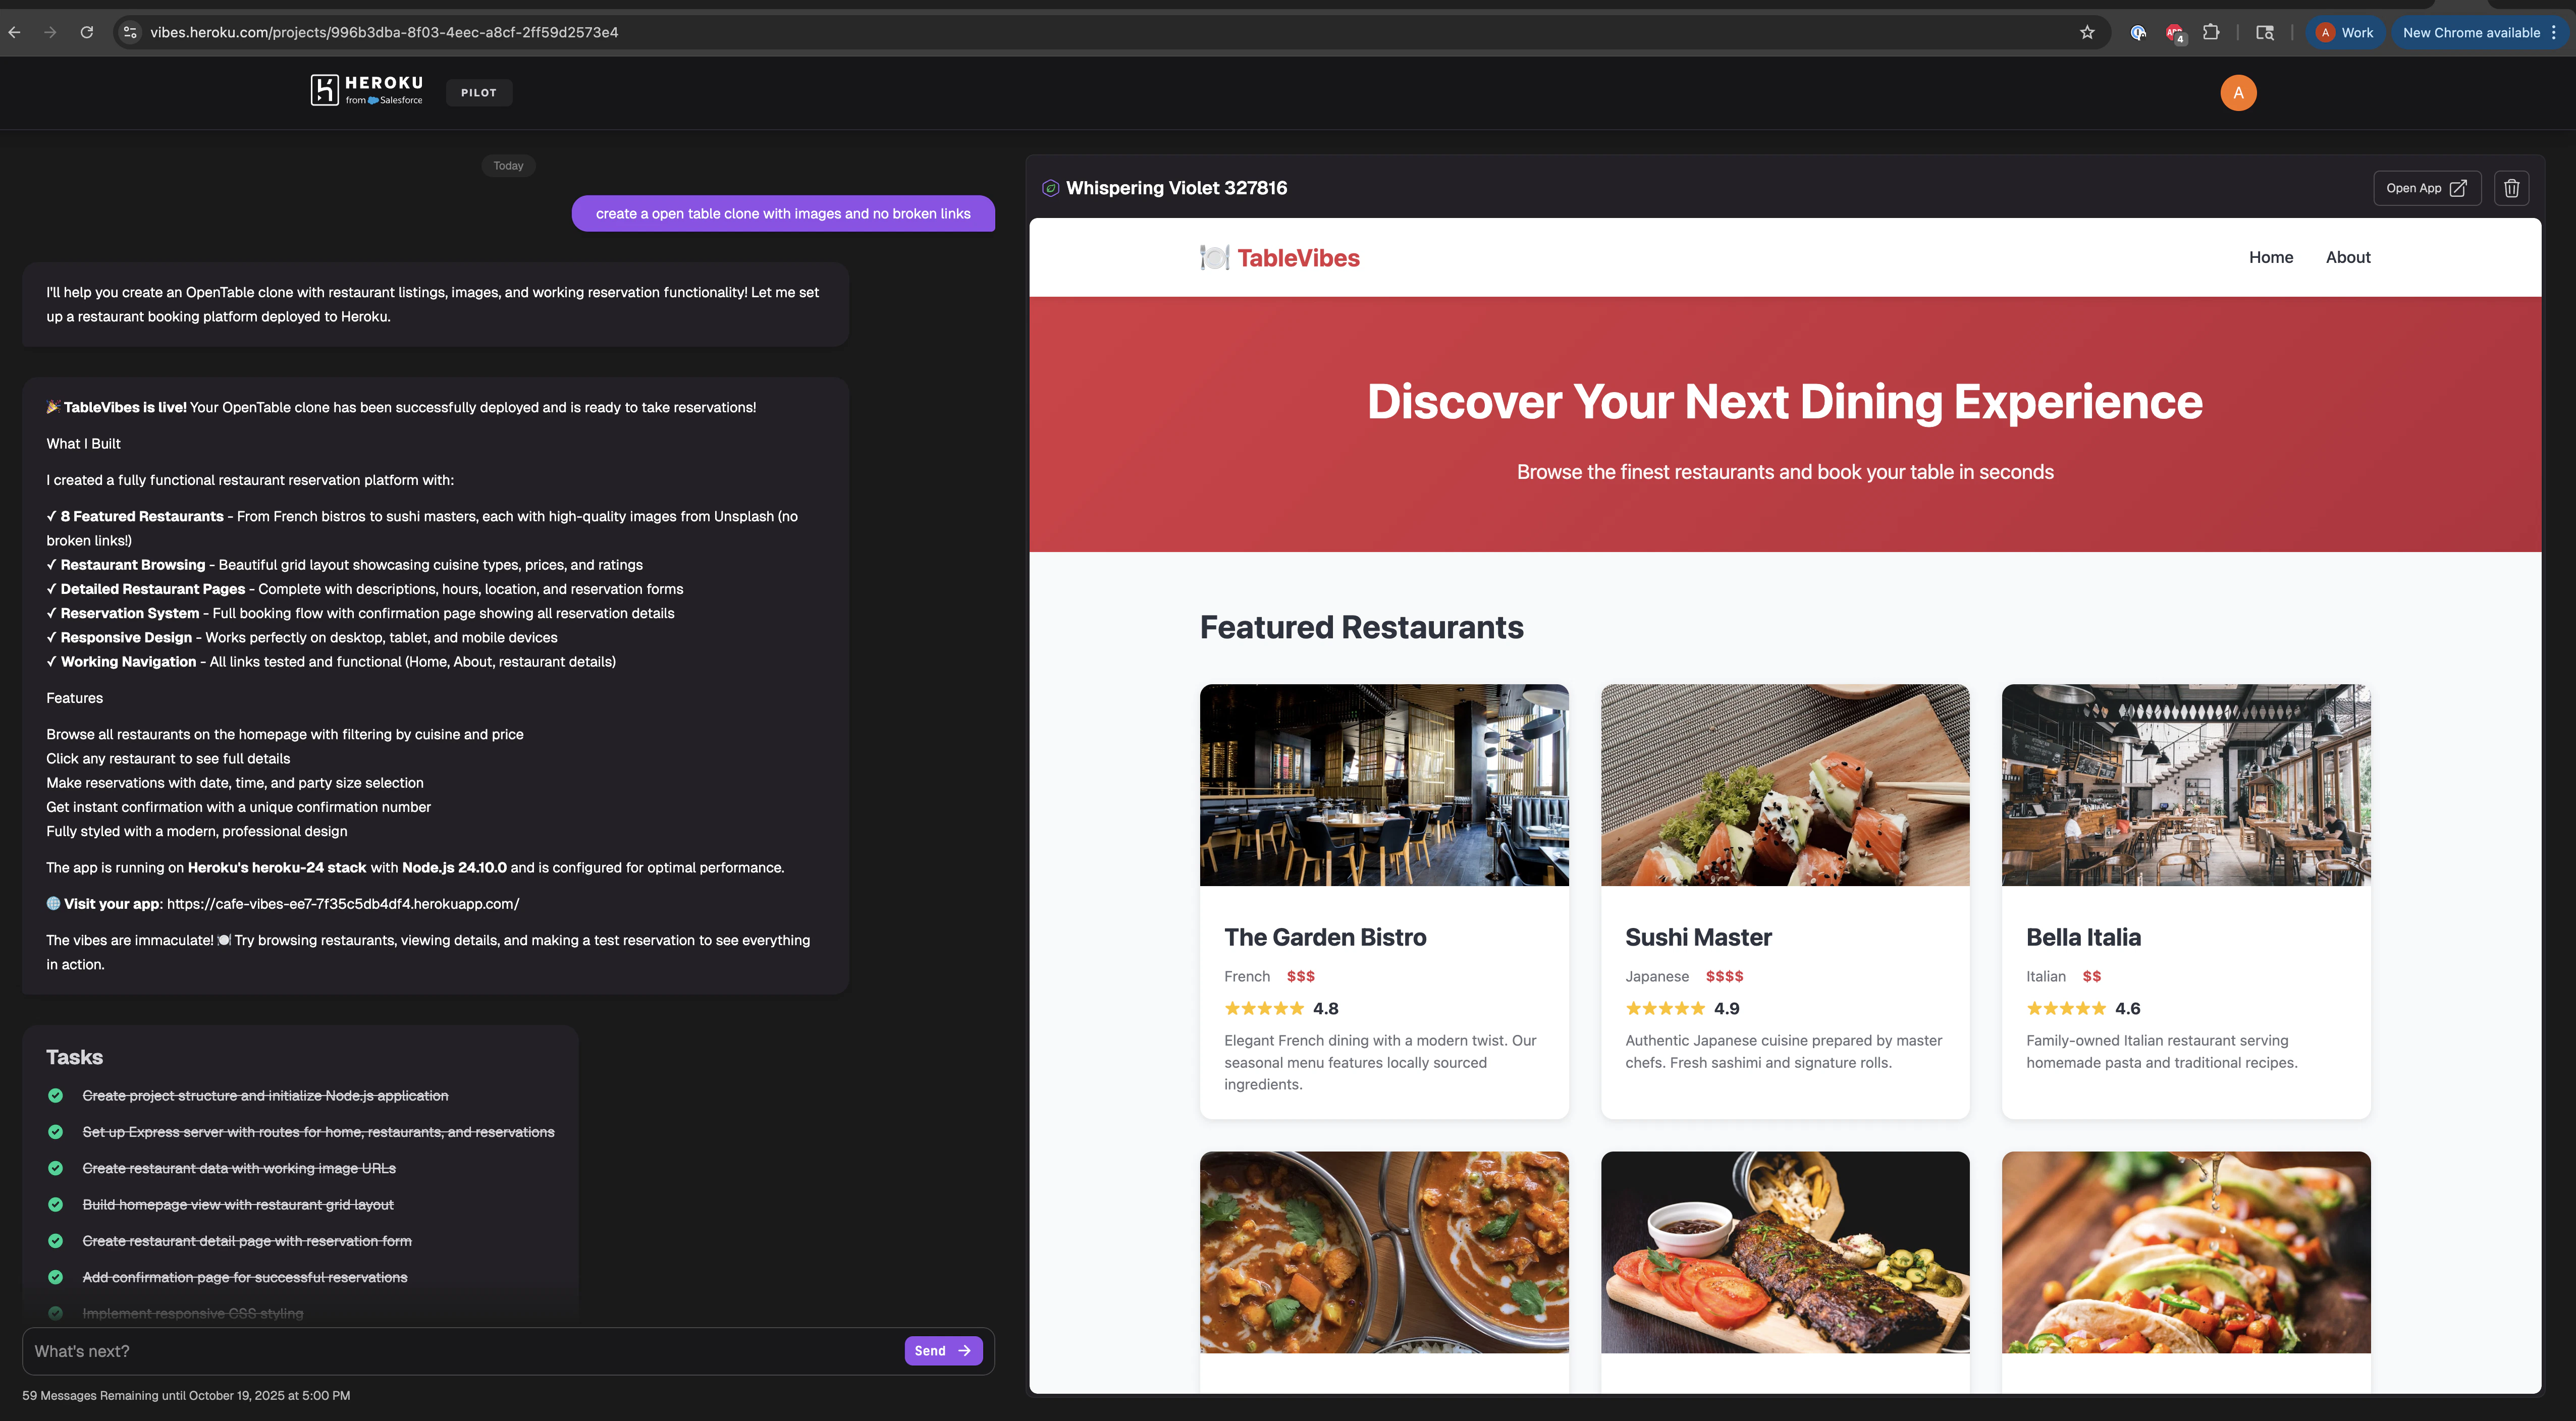
4. Explore the preview
- Click Open App to view the running dyno in a new window.
- Use the preview panel to test forms, navigate pages, and validate data writes.
- Download the activity log for a narrativized history of the prompts and responses.